So, you're diving into the world of video editing and wondering how the heck you can export from iMovie to MP4? Well, buckle up because we're about to take you on a wild ride through the ins and outs of this process. Whether you're a newbie or a seasoned pro, exporting videos in the right format is crucial for sharing your creative masterpiece. And guess what? MP4 is the go-to format for pretty much everything these days. So, let’s get started, shall we?
Now, before we dive deep into the nitty-gritty of exporting from iMovie to MP4, let's talk about why this is such a big deal. In today's digital age, video content rules the roost. Whether you're posting on social media, uploading to YouTube, or sending files to clients, having your video in the right format makes all the difference. And iMovie, being one of the most user-friendly video editors out there, offers a ton of options to make this process smooth as butter.
But here's the kicker—there are so many ways to skin this cat. You can tweak settings, play with resolutions, and even customize your export to fit specific platforms. So, if you've ever found yourself scratching your head trying to figure out how to export from iMovie to MP4, you're in the right place. This guide is packed with tips, tricks, and a whole lot of know-how to help you master this process. Let's roll!
- Movierulzcom 2024 The Ultimate Guide To Downloading Movies Safely
- Movierulz Website The Ultimate Hub For Movie Enthusiasts
Table of Contents
- Why Export to MP4?
- Understanding iMovie
- A Little Bit About iMovie
- The Exporting Process
- Customizing Your Export Settings
- Exporting for Specific Platforms
- Troubleshooting Common Issues
- Tips and Tricks for Exporting
- Alternatives to iMovie
- Wrapping It All Up
Why Export to MP4?
Alright, let's get one thing straight—MP4 is the king of video formats. It’s widely compatible, compressed without losing too much quality, and just plain awesome. When you export from iMovie to MP4, you're ensuring that your video can be played on pretty much any device out there. Whether it's a smartphone, tablet, or computer, MP4 has got you covered.
But wait, there's more! MP4 files are also super easy to upload to platforms like YouTube, Vimeo, and even social media. Plus, they're relatively lightweight, which means faster upload and download times. Who doesn’t love that? So, if you want your video to reach the widest audience possible, exporting to MP4 is the way to go.
Understanding iMovie
Now, let’s talk about the star of the show—iMovie. This bad boy is Apple’s built-in video editing software, and it’s perfect for both beginners and pros alike. With its drag-and-drop interface and a ton of cool features, iMovie makes video editing a breeze. But what makes it so special when it comes to exporting videos?
- 5movierulz Download 2023 Your Ultimate Guide To Movie Streaming And Beyond
- 7movierulz Kannada 2024 Your Ultimate Guide To Movies And Entertainment
First off, iMovie offers a ton of export options. You can choose from different resolutions, frame rates, and even file formats. And guess what? Exporting to MP4 is as easy as pie. Plus, iMovie is optimized for macOS, which means it integrates seamlessly with other Apple apps and devices. So, whether you're editing on a MacBook or an iMac, you're good to go.
A Little Bit About iMovie
Let’s take a quick trip down memory lane and talk about the history of iMovie. First introduced back in 1999, iMovie has come a long way since its humble beginnings. Over the years, it’s evolved into a powerful tool that’s packed with features. And while it may not have all the bells and whistles of professional-grade software like Final Cut Pro, it’s still an absolute beast when it comes to basic video editing.
Here’s a quick rundown of iMovie’s key features:
- Easy-to-use interface
- Drag-and-drop editing
- Built-in effects and transitions
- Support for 4K video
- Cloud integration with iCloud Drive
The Exporting Process
Alright, let’s get down to business. Exporting from iMovie to MP4 is super simple, but there are a few steps you need to follow. First things first, make sure your project is all set and ready to go. Once you’re happy with your edits, it’s time to export. Here’s how you do it:
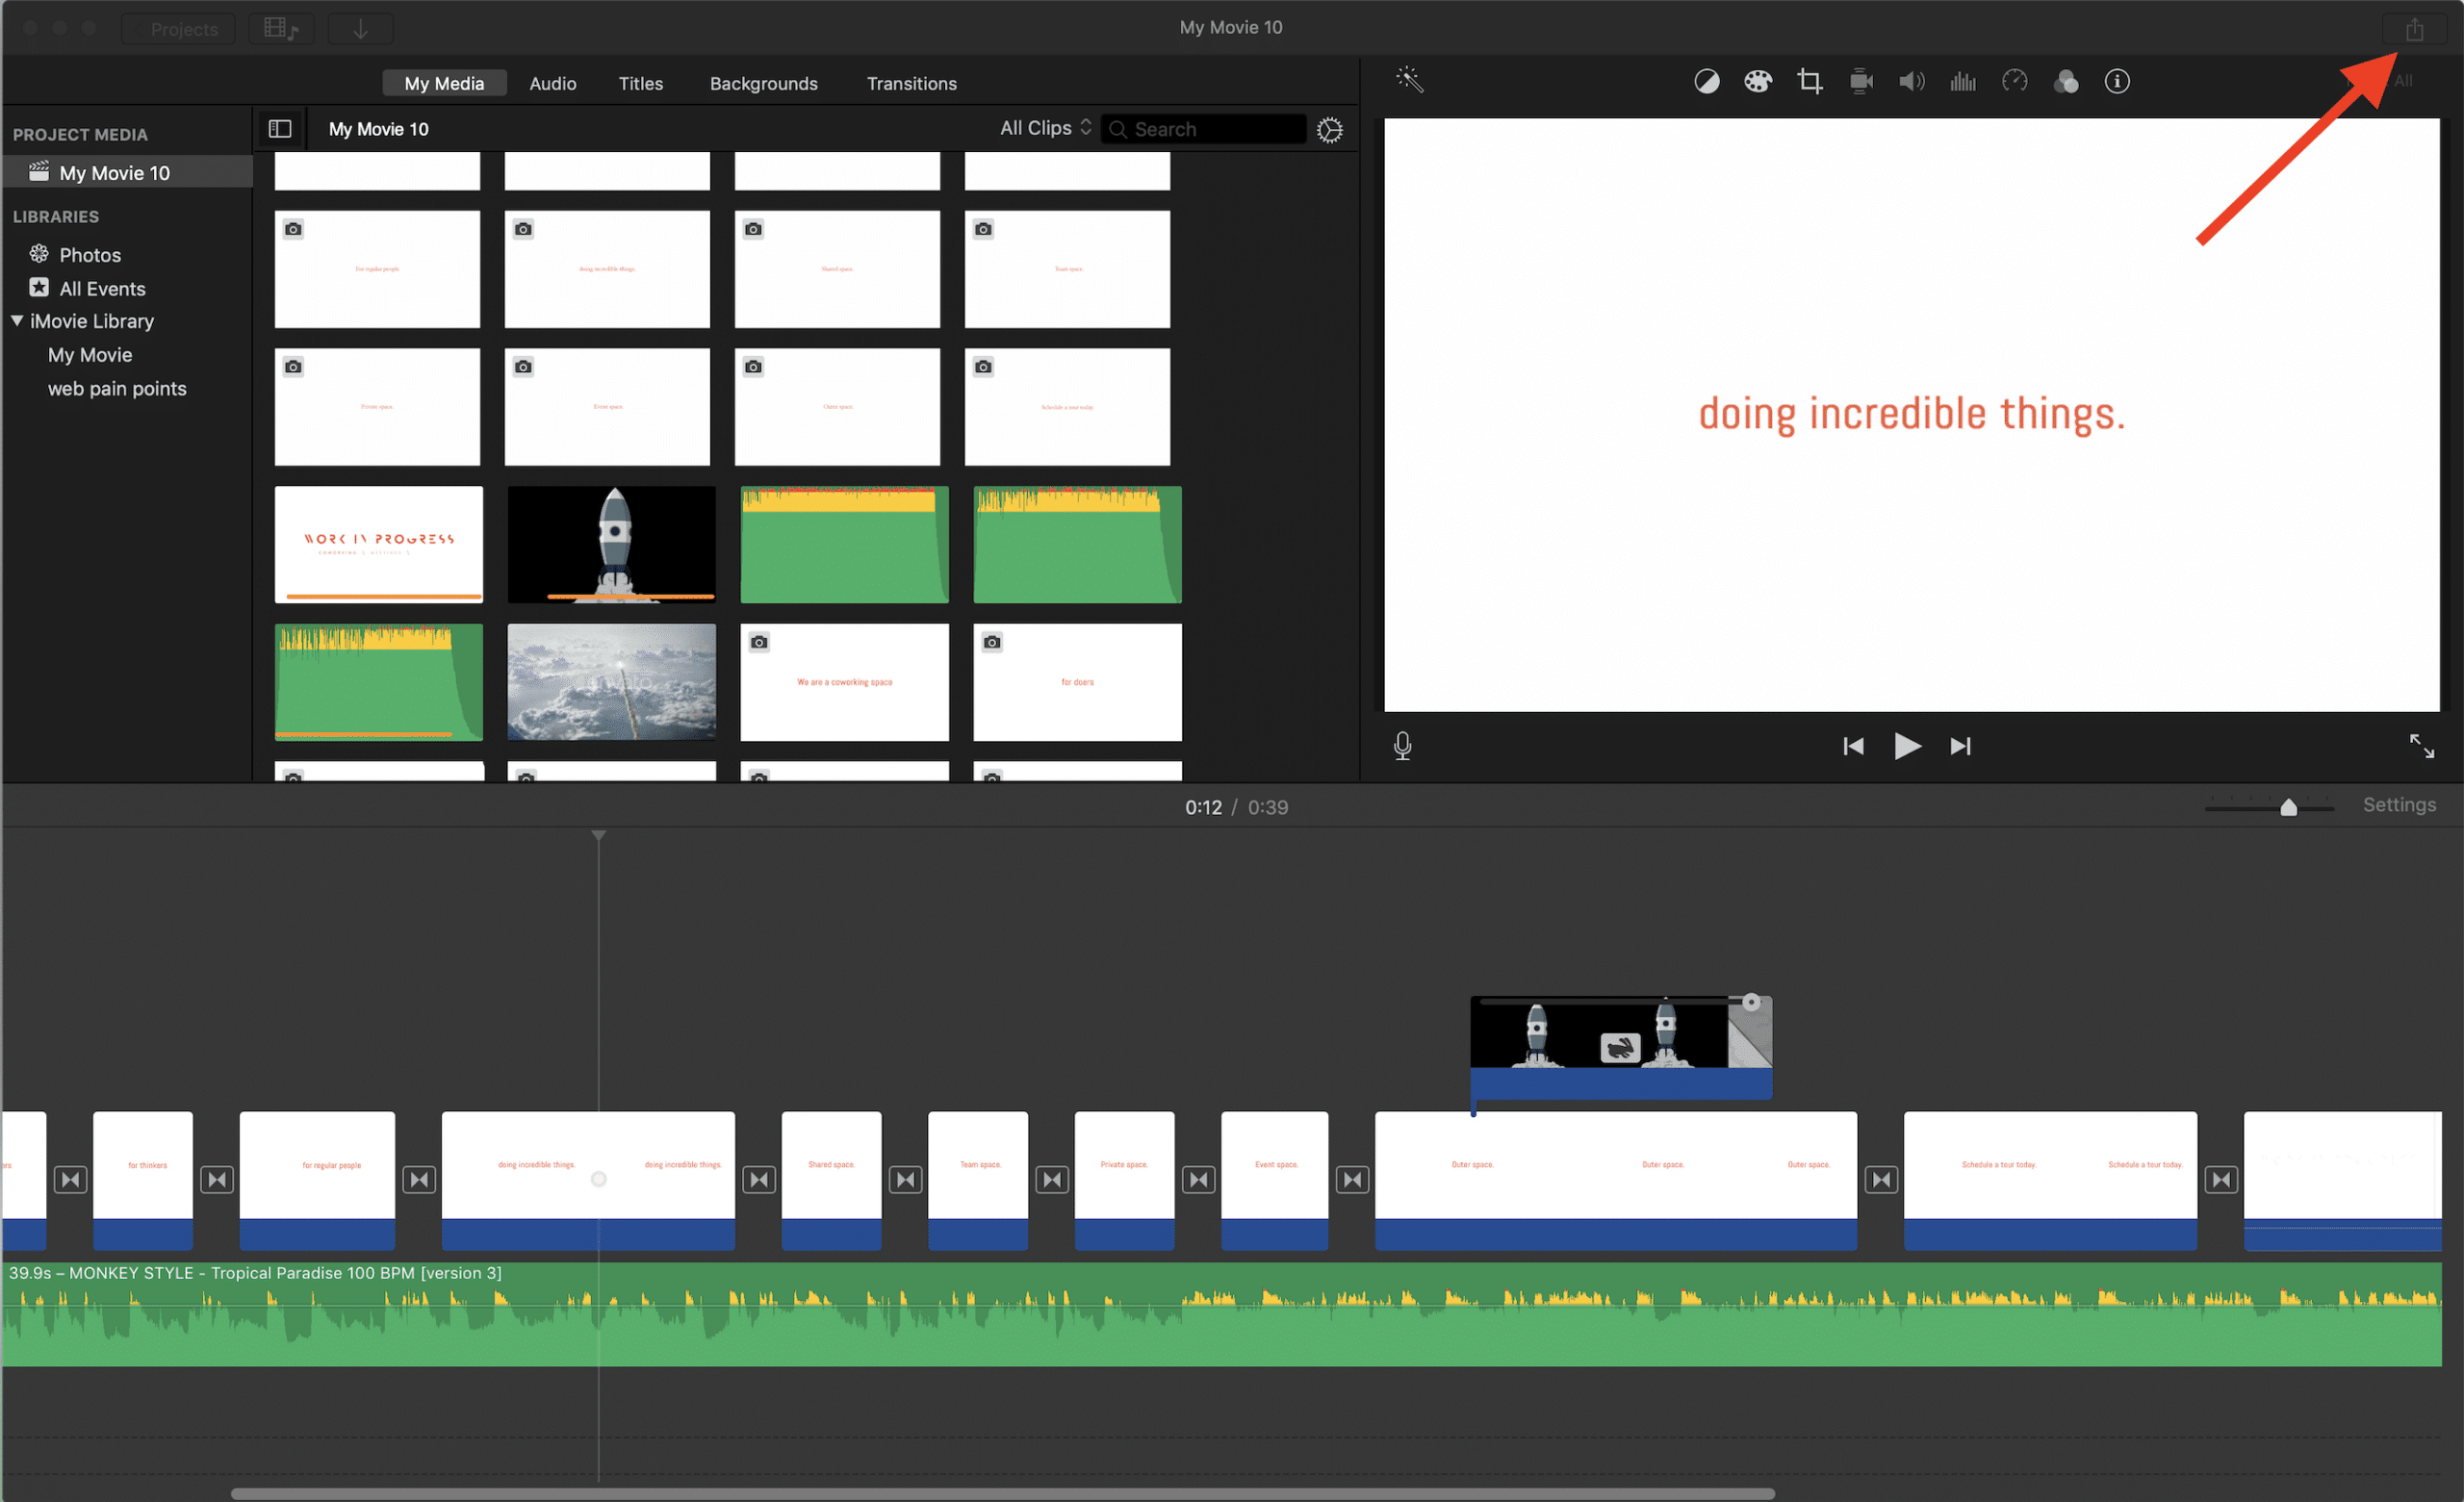
Step 1: Click on the "Share" button in the top menu bar. This will open up a dropdown menu with a bunch of export options.
Step 2: Select "File" from the dropdown menu. This will bring up the export dialog box.
Step 3: Choose your export settings. You can pick from different resolutions, frame rates, and file formats. For MP4, just stick with the default settings unless you have a specific reason to change them.
Step 4: Name your file and choose a location to save it. Hit "Export" and you’re good to go!
Customizing Your Export Settings
Now, let’s talk about customizing your export settings. While the default settings work great for most people, sometimes you might need to tweak things a bit. Here are a few things you can adjust:
- Resolution: You can choose from 720p, 1080p, or even 4K depending on your needs.
- Frame Rate: Most videos are shot at 24fps or 30fps, but you can adjust this if you want a different look.
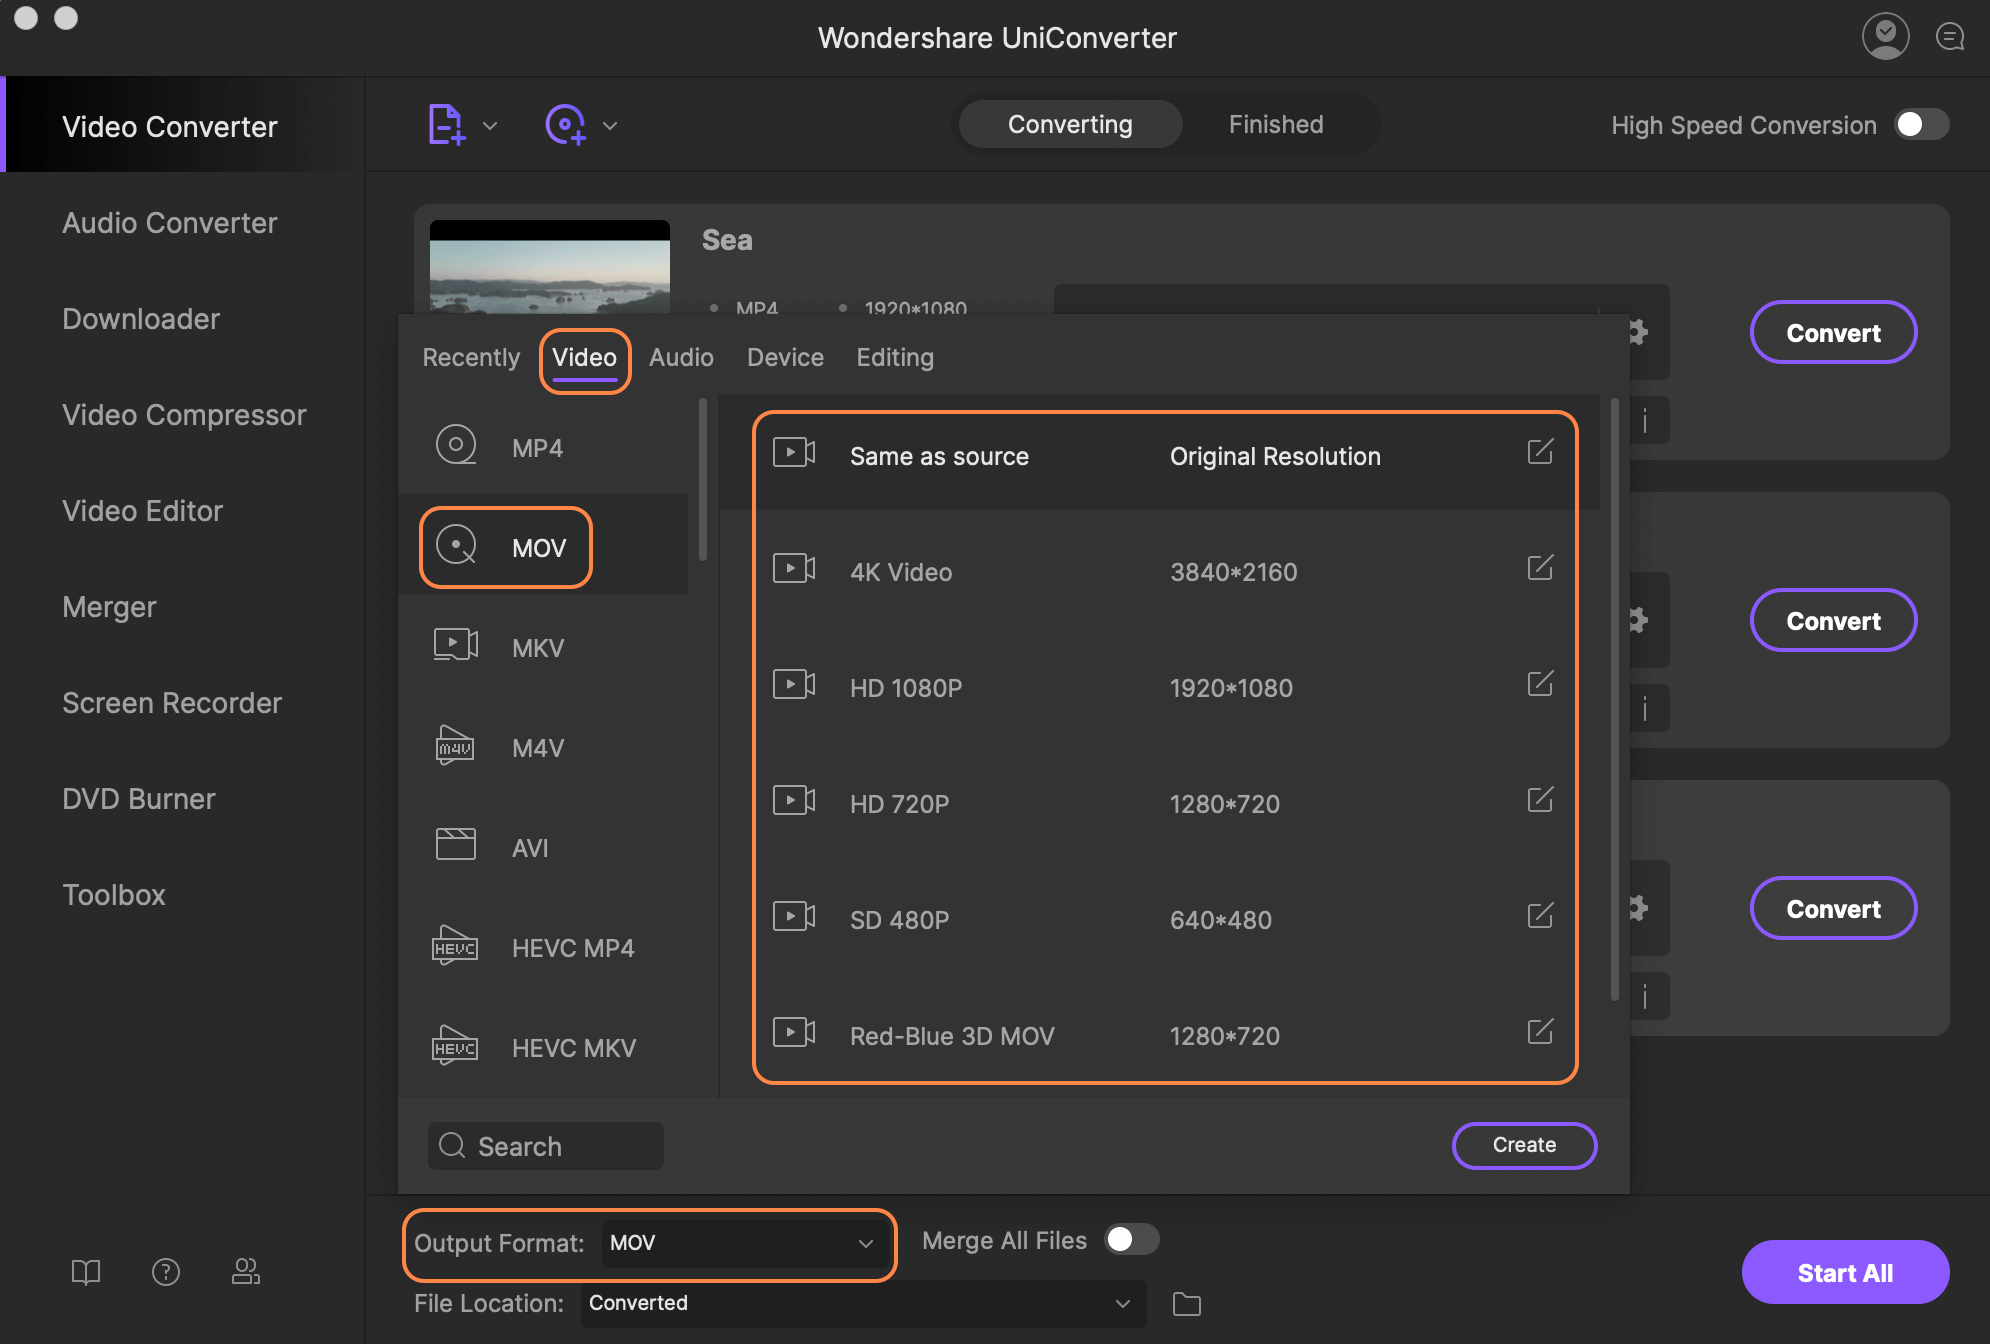
- File Format: While MP4 is the default, you can also export to other formats like MOV or MPEG-4.
- Bitrate: This controls the quality of your video. Higher bitrates mean better quality, but also larger file sizes.
Exporting for Specific Platforms
Depending on where you plan to share your video, you might need to adjust your export settings. Here’s a quick guide to exporting for some of the most popular platforms:
YouTube
For YouTube, stick with 1080p or 4K resolution at 30fps. Use the H.264 codec and keep your bitrate around 8-16 Mbps for 1080p and 16-25 Mbps for 4K.
Vimeo
Vimeo is a bit more flexible, but they recommend using 1080p at 24fps or 30fps. Again, H.264 codec is the way to go, and keep your bitrate around 17 Mbps for 1080p.
Social Media
For platforms like Instagram and Facebook, you’ll want to use 720p or 1080p resolution. Keep your frame rate at 30fps and your bitrate around 5 Mbps. Also, make sure your video is in landscape or square format depending on the platform.
Troubleshooting Common Issues
Even with the best tools, things can go wrong sometimes. Here are a few common issues you might run into when exporting from iMovie to MP4 and how to fix them:
- Export Takes Forever: If your export is taking ages, try reducing the resolution or bitrate. Also, make sure your computer isn’t running too many other programs at the same time.
- File Won’t Play: This could be due to a codec issue. Try exporting again and make sure you’re using the H.264 codec.
- File Size Too Large: If your file is way too big, try lowering the resolution or bitrate. You can also experiment with different compression settings.
Tips and Tricks for Exporting
Here are a few extra tips and tricks to help you get the most out of exporting from iMovie to MP4:
- Always save a backup of your original project before exporting.
- Test your export on different devices to make sure it plays properly.
- Use iCloud Drive to store your exported files for easy access across devices.
- Experiment with different settings to find what works best for your specific needs.
Alternatives to iMovie
While iMovie is a fantastic tool, it’s not the only game in town. If you’re looking for alternatives, here are a few options to consider:
- Final Cut Pro: A professional-grade video editor for macOS with tons of advanced features.
- Adobe Premiere Pro: One of the most popular video editing software out there, available on both macOS and Windows.
- DaVinci Resolve: A free, yet powerful video editing software with a ton of features.
Wrapping It All Up
So, there you have it—the ultimate guide to exporting from iMovie to MP4. Whether you’re a newbie or a seasoned pro, this process is simple, straightforward, and super effective. Just remember to tweak your settings based on your specific needs and the platform you’re sharing your video on.
And hey, don’t forget to leave a comment below and let us know how your exporting adventure went. Or, if you have any questions, feel free to hit us up. We’re here to help! So, go ahead and share this article with your friends, and keep creating awesome content. The world’s waiting for your next masterpiece!

Detail Author:
- Name : Abbie Padberg
- Username : moses71
- Email : oconner.fay@morar.com
- Birthdate : 1991-08-23
- Address : 551 Dahlia Ranch East Yoshikomouth, OR 90692
- Phone : 620-799-1439
- Company : Stanton Group
- Job : Animal Husbandry Worker
- Bio : Iure officiis modi quibusdam tenetur. Accusantium laboriosam quia accusamus dolores voluptates aliquam distinctio. Qui consequatur voluptatibus doloremque et natus. Dolor repellendus at dolores at.
Socials
instagram:
- url : https://instagram.com/bonnie_real
- username : bonnie_real
- bio : Qui vel eos esse earum. Neque eaque ipsum placeat.
- followers : 5830
- following : 2153
linkedin:
- url : https://linkedin.com/in/bonnie.steuber
- username : bonnie.steuber
- bio : Veritatis voluptatibus at ut et.
- followers : 2117
- following : 2110
tiktok:
- url : https://tiktok.com/@bonnie.steuber
- username : bonnie.steuber
- bio : Quasi voluptatem ipsam minus perspiciatis consequatur amet est.
- followers : 4271
- following : 2264
facebook:
- url : https://facebook.com/bonniesteuber
- username : bonniesteuber
- bio : Aut quos modi commodi est. Deleniti architecto vero quis praesentium.
- followers : 947
- following : 1923
