**Editing videos can be a wild ride, especially when you're diving into the world of iMovie. Whether you're a content creator, a student, or just someone who loves capturing life's moments, knowing how to export iMovie as MP4 is a game-changer. It's not just about saving your masterpiece; it's about making sure your video looks stunning across all platforms. So, buckle up, because we're about to take you on a journey through the ins and outs of exporting your iMovie projects as high-quality MP4 files.**
When it comes to video editing, iMovie is like the Swiss Army knife of the digital world. It's user-friendly, packed with features, and perfect for both beginners and pros. But here's the deal: once you've spent hours crafting your video, you need to make sure it's ready for the world to see. That's where exporting as MP4 comes in. This format is universally loved because it's compatible with almost every device and platform out there.
Don't worry if you're new to this whole exporting thing. We've got your back. This guide is designed to walk you through every step, from the basics of iMovie to the nitty-gritty details of exporting your video in the best possible quality. By the end of this, you'll be exporting like a pro, and your videos will look absolutely killer.
- Madiiiiisonnn Leaks The Ultimate Guide To Understanding The Hype
- Unveiling The World Of Movierulz Kannada Movies New 2025
Table of Contents
- Introduction to iMovie Exporting
- Why Choose MP4 for Your Videos?
- Getting Started with iMovie
- Understanding Export Options
- Step-by-Step Guide to Exporting
- Pro Tips and Tricks
- Common Issues and How to Fix Them
- Optimizing Your MP4 Files
- Ensuring Compatibility Across Devices
- Wrapping It Up
Introduction to iMovie Exporting
iMovie is more than just an app; it's a creative powerhouse that lets you bring your ideas to life. But before you can share your masterpiece with the world, you need to export it. Exporting your project as an MP4 file is the go-to method for most creators, and for good reason. MP4 is lightweight, versatile, and plays nicely with pretty much everything.
Think of exporting as the final touch to your video. It's like putting on the cherry after baking a cake. You want it to be perfect, right? That's why understanding the export process is crucial. From choosing the right settings to avoiding common pitfalls, this section will set you up for success.
Why Choose MP4 for Your Videos?
Alright, let's talk about why MP4 is the king of video formats. First off, it's supported by almost every device and platform out there. Whether you're uploading to YouTube, sharing on social media, or sending your video via email, MP4 is the safest bet. Plus, it offers great compression, meaning your files won't be massive without sacrificing quality.
- Movierulz Website The Ultimate Hub For Movie Enthusiasts
- 2024 Kannada Movie Scene Why Movierulz Is A Controversial Hub For New Releases
Here are some quick reasons why MP4 is the top choice:
- Wide compatibility with devices and platforms
- Excellent balance between file size and video quality
- Easy to upload and share
- Supports HD and 4K resolution
Getting Started with iMovie
Before we dive into exporting, let's make sure you're set up for success. If you're new to iMovie, don't sweat it. It's super intuitive and designed to make video editing a breeze. Here's a quick rundown of what you need to know:
First things first, open up iMovie on your device. If you're using a Mac, it should already be installed. If not, you can grab it from the App Store. Once you're in, create a new project and start importing your clips. Organize them, add some transitions, toss in some music, and bam—you're editing like a pro.
Setting Up Your Project
When setting up your project, keep in mind the final destination of your video. Are you uploading to YouTube? Sharing on Instagram? Knowing this will help you choose the right resolution and frame rate. For most platforms, 1080p at 30fps is a solid choice.
Understanding Export Options
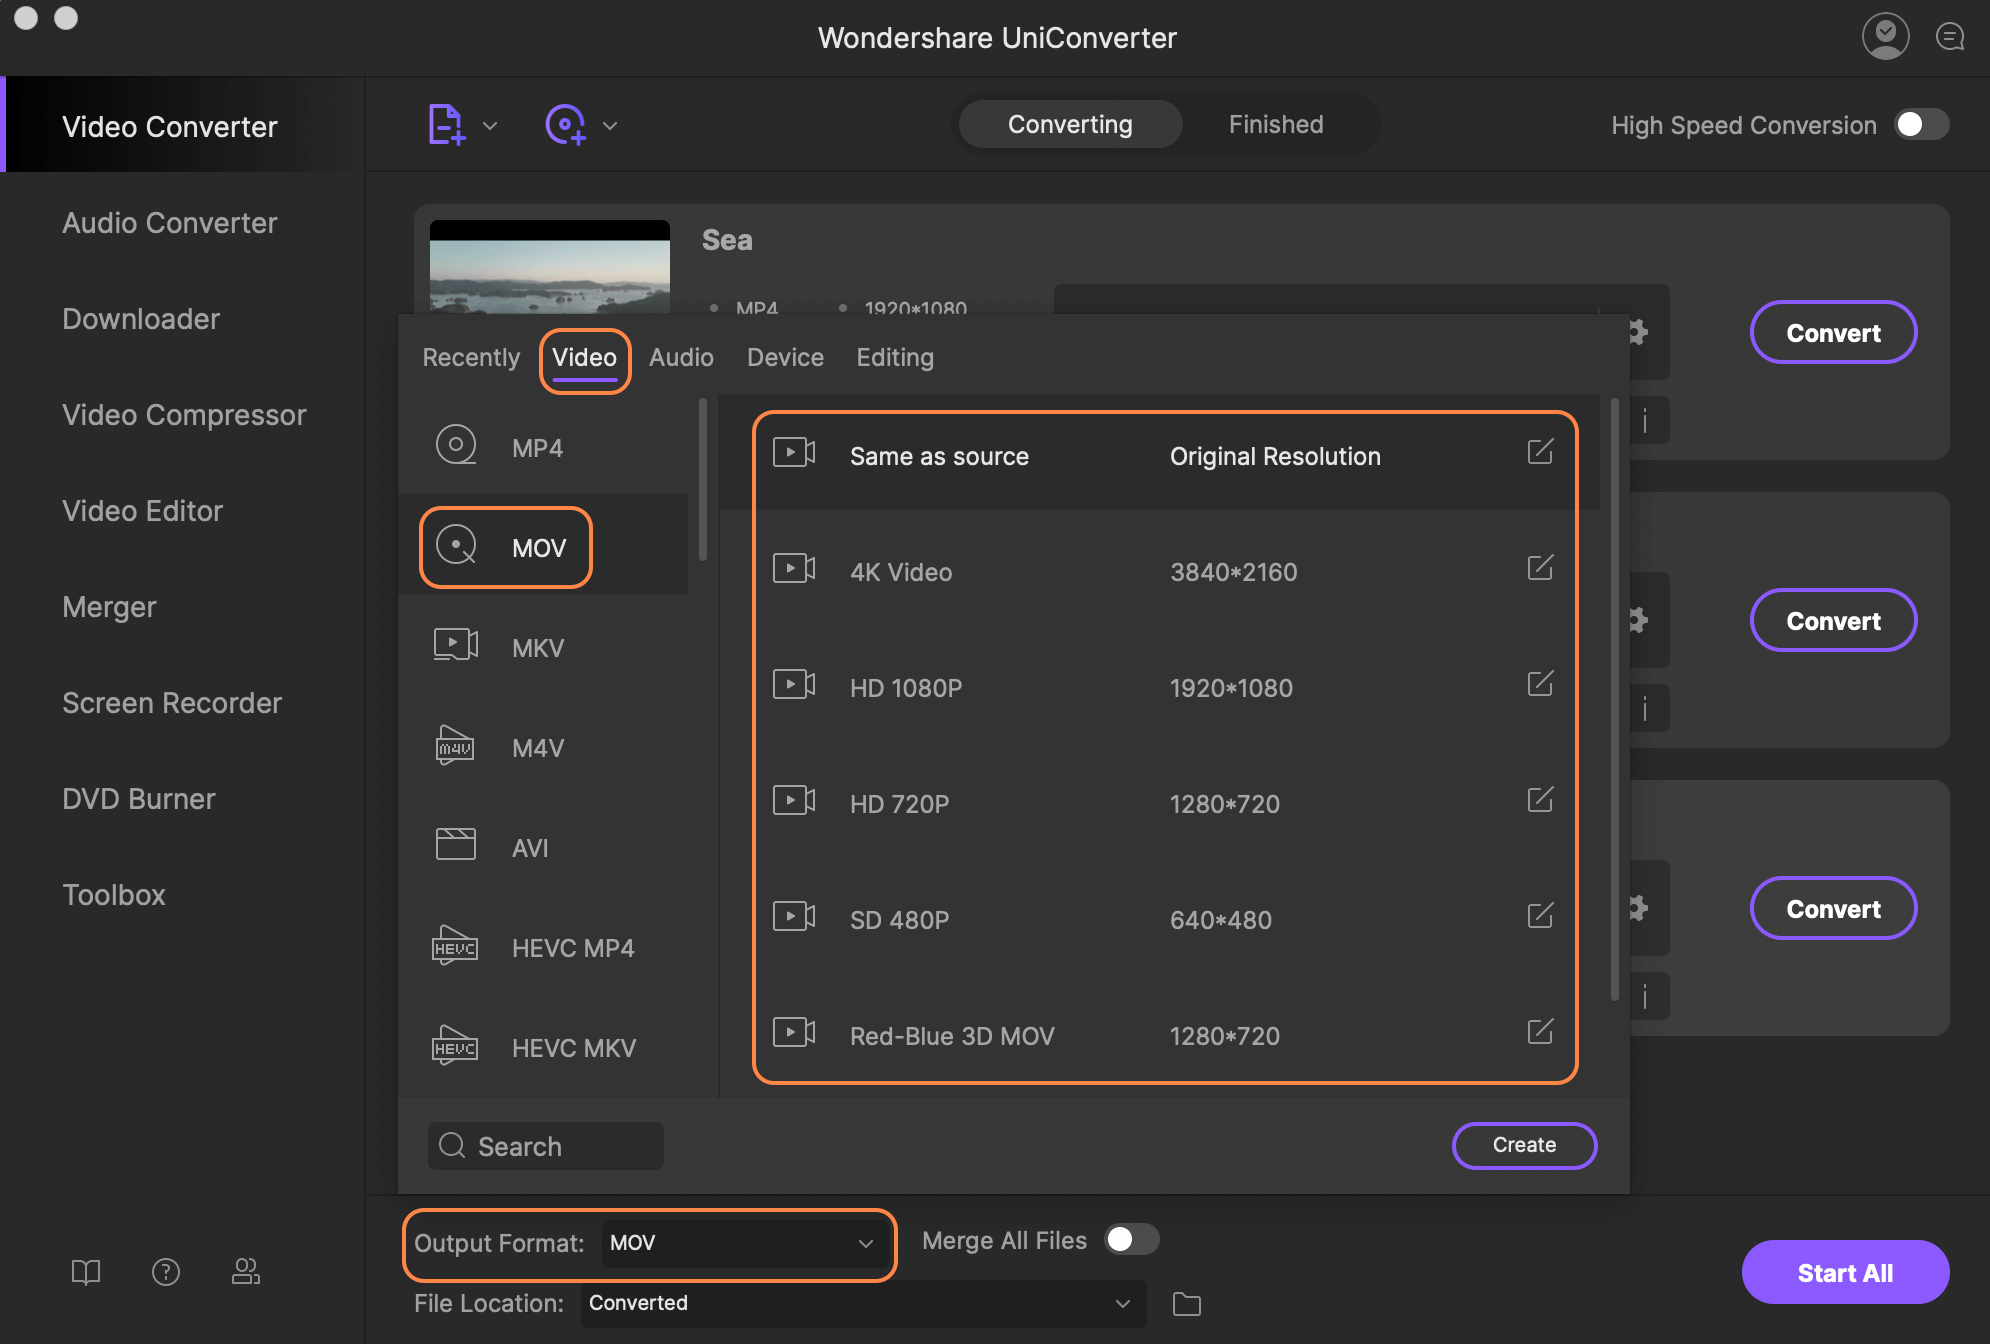
Now that you've created your masterpiece, it's time to talk about exporting. iMovie gives you a few different options, and choosing the right one depends on what you're planning to do with your video. Here's a breakdown:
- Export for QuickTime: This is great if you're sharing your video with other Mac users or saving it for personal use.
- Export for Web: Perfect for uploading to platforms like YouTube or Vimeo. This option optimizes your file for faster uploading.
- Export as 4K/1080p: If you're looking for the best quality, go with this option. It's ideal for sharing on high-resolution screens.
Choosing the right export option ensures your video looks its best wherever it ends up.
Step-by-Step Guide to Exporting
Ready to export your video? Here's a step-by-step guide to help you through the process:
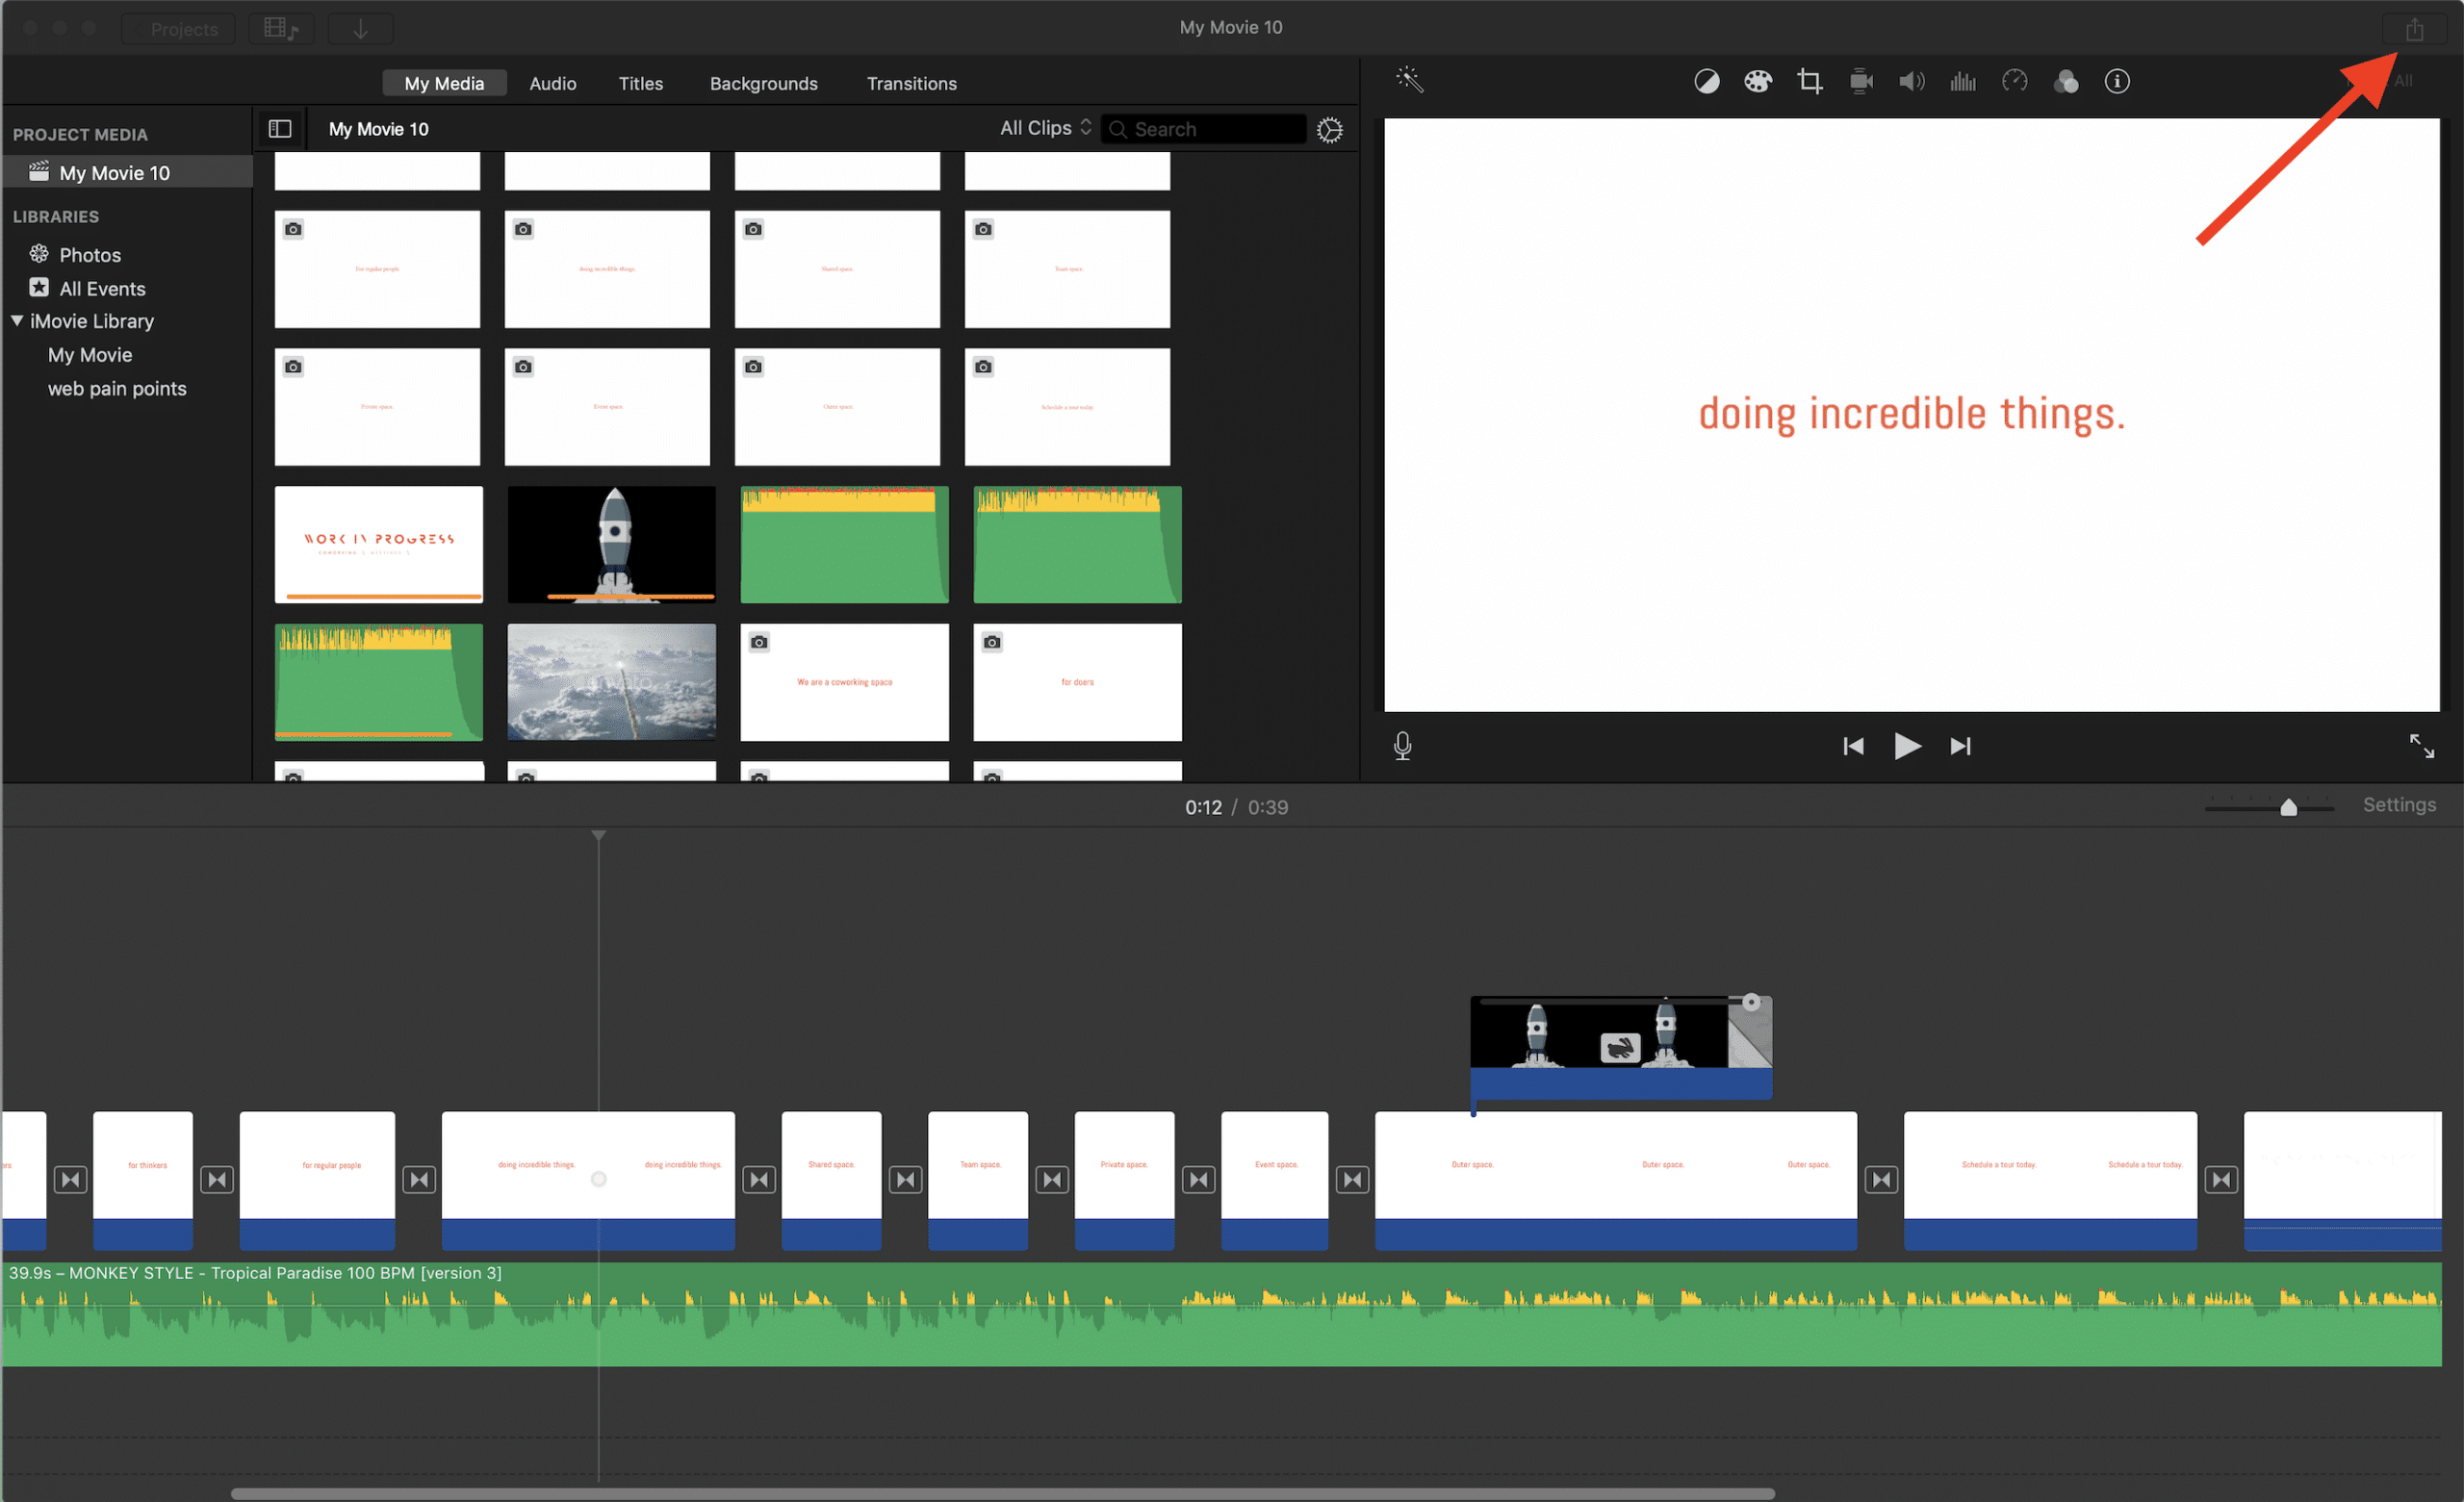
1. Open your project in iMovie and make sure everything looks good. Double-check your transitions, audio levels, and effects.
2. Click on the "Share" button, usually found in the top-right corner of the screen. A dropdown menu will appear with your export options.
3. Select "File" from the menu. This will bring up the export settings.
4. Choose your export format. For most cases, MP4 is the way to go.
5. Set your resolution and frame rate. 1080p at 30fps is a safe choice for most platforms.
6. Name your file and choose a save location. Make sure it's easy to find later.
7. Hit "Export" and let iMovie do its thing. Depending on the length of your video, this might take a few minutes.
Tips for Faster Exporting
Exporting can take time, especially if you're working with long videos or high resolutions. Here are a few tips to speed things up:
- Close other apps to free up system resources
- Use a smaller resolution if quality isn't a top priority
- Make sure your computer is plugged in to avoid interruptions
Pro Tips and Tricks
Want to take your exporting game to the next level? Here are some pro tips to help you get the most out of iMovie:
1. Use presets: iMovie comes with preset export settings for popular platforms like YouTube and Vimeo. These are optimized for the best performance on those platforms.
2. Add metadata: When exporting, consider adding metadata like titles and keywords. This can help with discoverability on platforms like YouTube.
3. Experiment with compression: If your file is too large, try adjusting the compression settings. This can help reduce the file size without sacrificing too much quality.
Common Issues and How to Fix Them
Even the best creators run into issues from time to time. Here are some common problems you might face when exporting iMovie projects as MP4, along with solutions:
- Export taking too long: Close unnecessary apps and ensure your system has enough power.
- File not playing on certain devices: Double-check your export settings and make sure they're compatible with the device.
- Quality issues: Try exporting at a higher resolution or adjusting the compression settings.
Don't let these issues derail your progress. With a little troubleshooting, you'll have your video ready to go in no time.
Optimizing Your MP4 Files
Once you've exported your video, it's time to optimize it for the web. Optimization ensures your video loads quickly and looks great on all devices. Here's how you can do it:
1. Compress your file: Use tools like HandBrake to compress your MP4 without losing too much quality.
2. Resize your video: If you're uploading to social media, consider resizing your video to fit the platform's dimensions.
3. Add subtitles: Subtitles can improve accessibility and engagement, especially on platforms where videos often play without sound.
Tools for Optimization
There are plenty of tools out there to help you optimize your MP4 files. Some popular ones include:
- HandBrake
- Adobe Media Encoder
- FFmpeg
These tools offer advanced features for compressing, resizing, and enhancing your videos.
Ensuring Compatibility Across Devices
Compatibility is key when it comes to sharing your videos. You want to make sure your MP4 file plays smoothly on all devices, from smartphones to smart TVs. Here's how you can ensure compatibility:
1. Stick to standard resolutions: 720p, 1080p, and 4K are universally supported.
2. Choose the right codec: H.264 is the most widely used codec for MP4 files.
3. Test on different devices: Before sharing, test your video on a variety of devices to make sure it plays correctly.
Wrapping It Up
Exporting your iMovie project as an MP4 file doesn't have to be a headache. With the right settings and a bit of practice, you'll be exporting like a pro in no time. Remember, the key is to choose the right export options based on where you're sharing your video and to optimize it for the web.
Now that you've got the knowledge, it's time to put it into action. So, fire up iMovie, create your next masterpiece, and export it with confidence. And hey, if you found this guide helpful, don't forget to share it with your friends or leave a comment below. Happy editing!

Detail Author:
- Name : Prof. Stevie Leffler Sr.
- Username : jordane63
- Email : brenna34@yahoo.com
- Birthdate : 1983-05-08
- Address : 9114 Shields Gateway West Gabriellamouth, CO 68609-7258
- Phone : 1-770-928-7913
- Company : Corwin, DuBuque and Abshire
- Job : Plating Operator
- Bio : Omnis praesentium et omnis quisquam est et alias. Itaque sed non odio officiis. Excepturi itaque tenetur quis sed et. Doloremque consequatur ut omnis nihil atque inventore ea.
Socials
instagram:
- url : https://instagram.com/friesen1986
- username : friesen1986
- bio : Aperiam nostrum repellendus laboriosam numquam autem labore. Commodi aut nesciunt maiores sapiente.
- followers : 2845
- following : 1797
twitter:
- url : https://twitter.com/friesen2004
- username : friesen2004
- bio : Voluptatem accusamus quia eligendi non nisi. Eum architecto quaerat qui ab. Labore nobis recusandae quae dolorem cumque.
- followers : 4676
- following : 1983
facebook:
- url : https://facebook.com/tfriesen
- username : tfriesen
- bio : Excepturi dolorum temporibus enim ea. Alias minima et voluptas nam dignissimos.
- followers : 348
- following : 630
